Friday, December 14, 2012

Painted Wine Glass DIY

Painted Wine Glass DIY detail

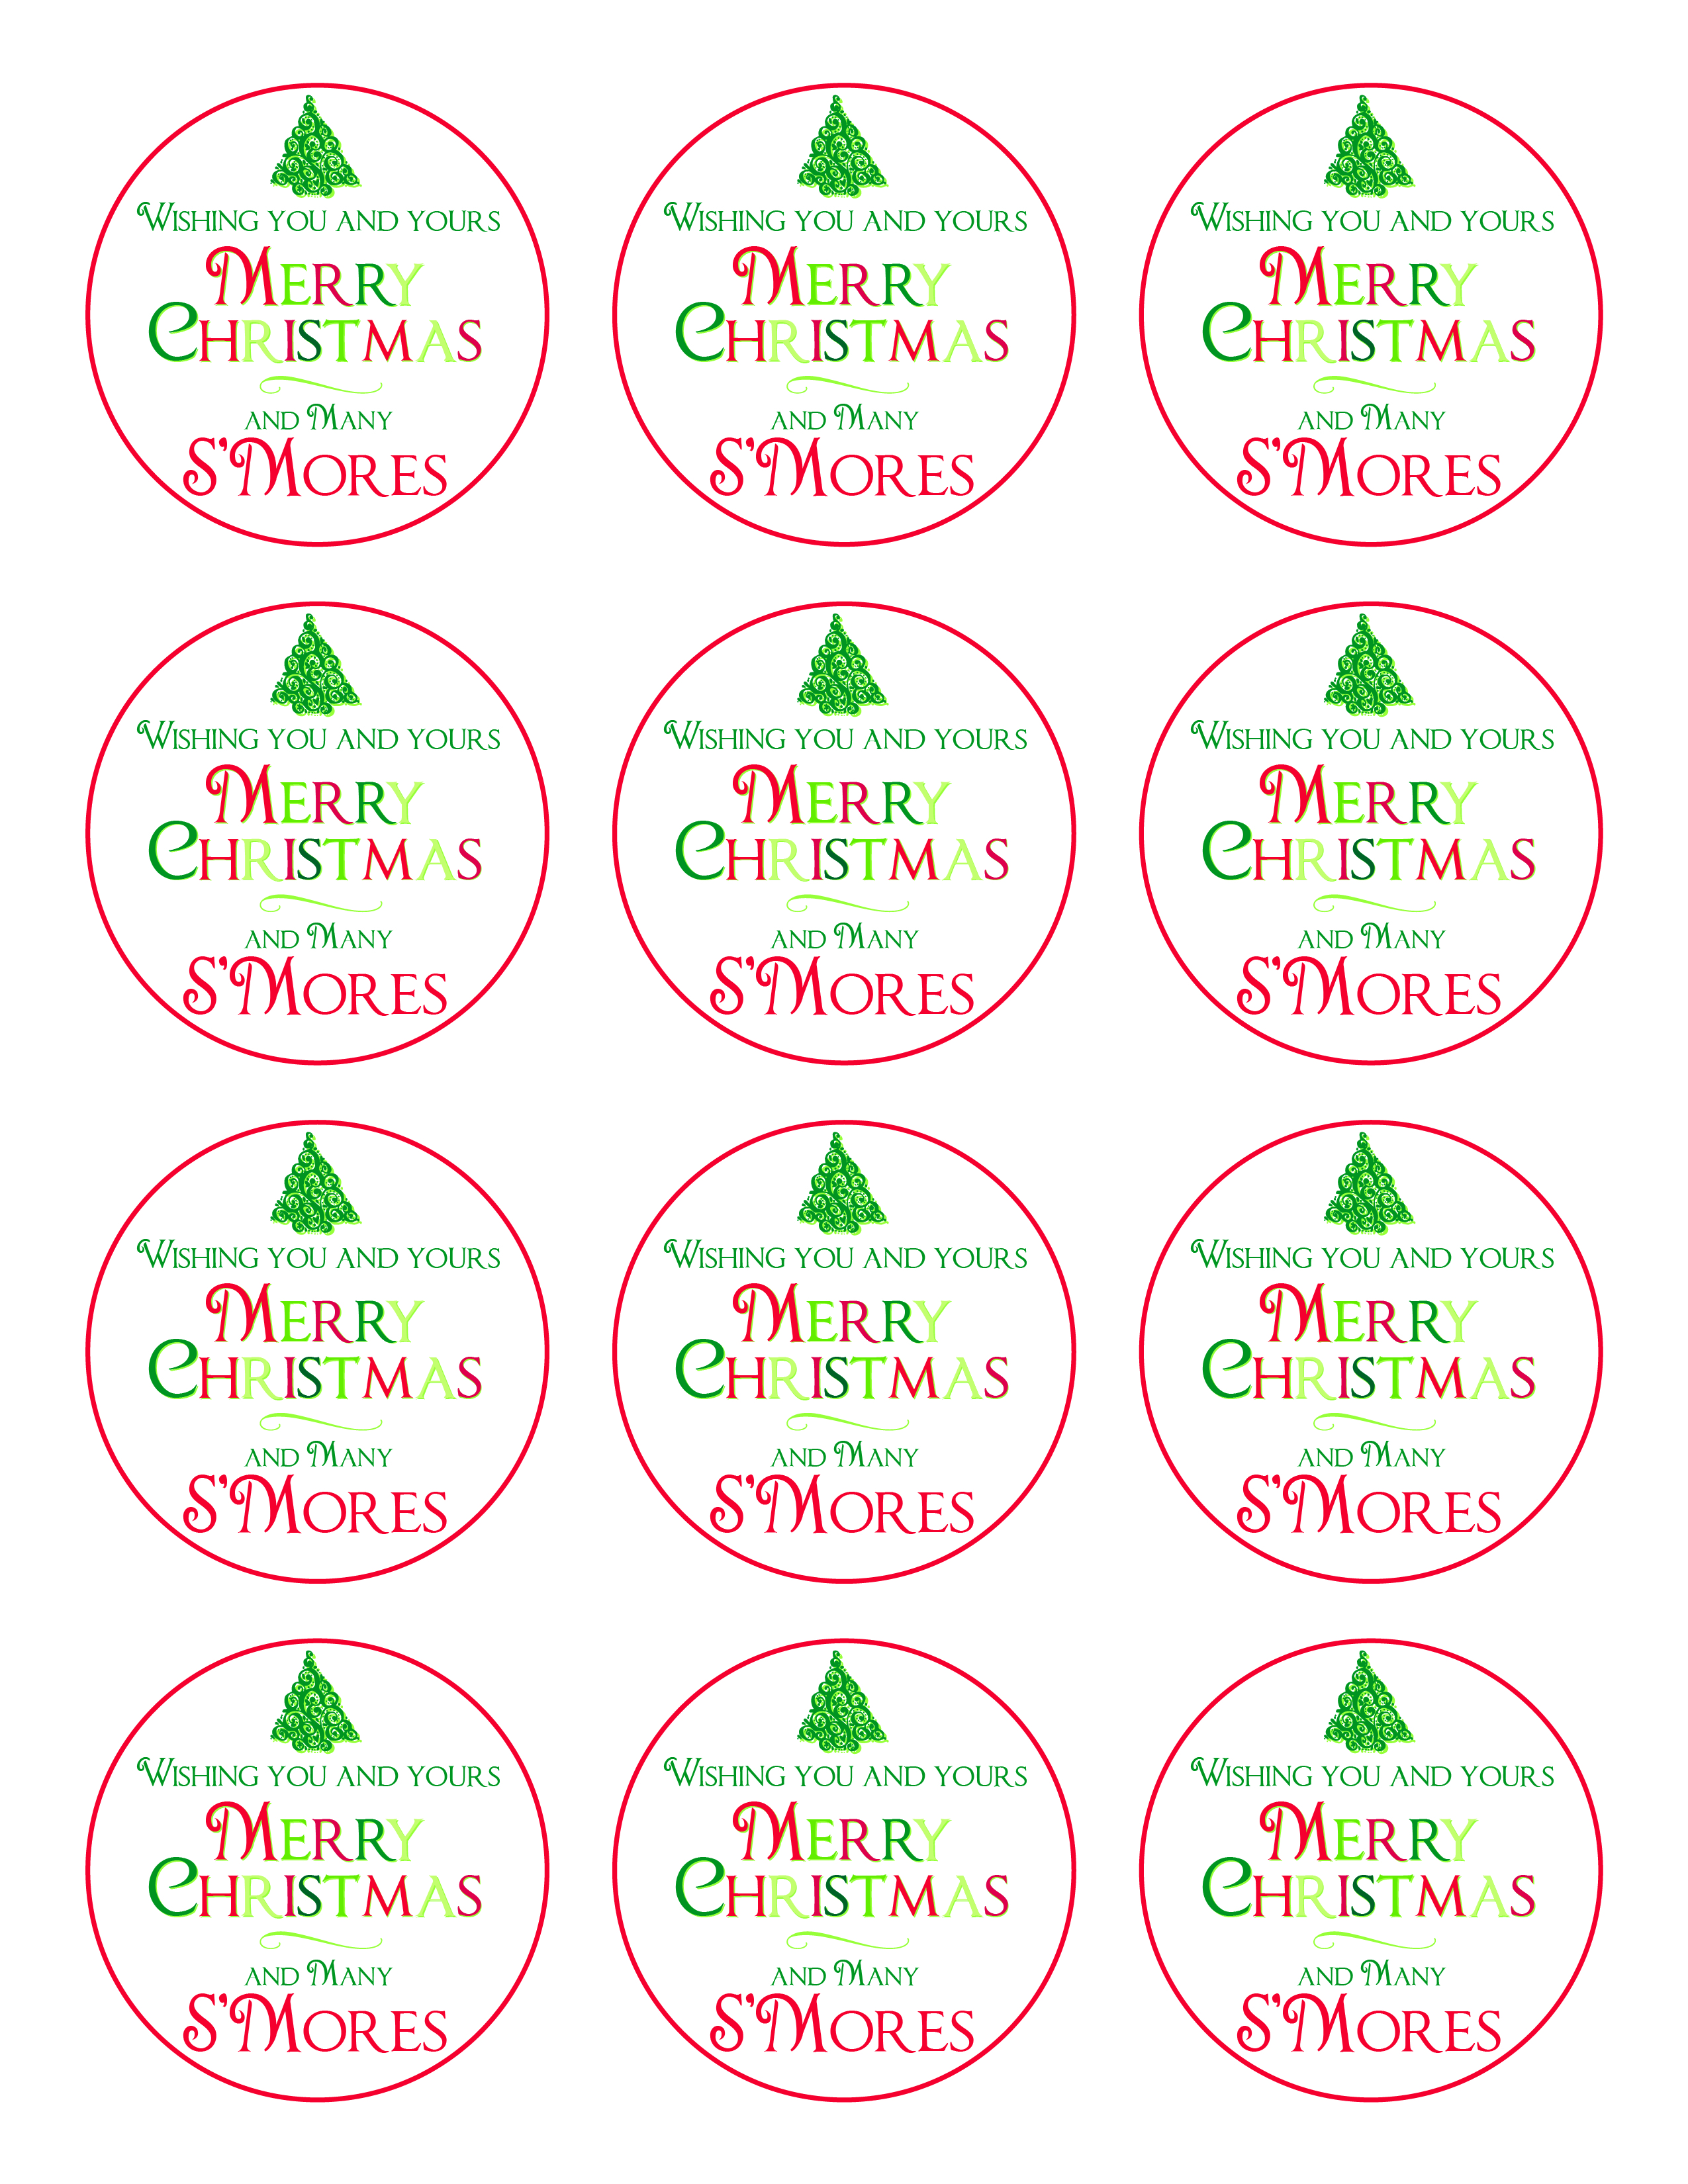
Personalized wine glasses are the perfect inexpensive gift for your wine lovin' friends. At only $1 per glass (plus the cost of paint), you can't go wrong!

You will need:

Painted Wine Glass DIY supplies


Instructions

I purchased the wine glasses from Dollar Tree for $1 each. The enamel paint I had purchase a while back from Michael's on sale. You can also purchase it on Amazon {affiliate link }. I ended up using 5 colors: white, black, pink, blue and purple. Any brand of the enamels acrylic paint will work. Make sure it says "for glass" on the bottle.

Painted Wine Glass DIY detail

You can search on the web for some neat ideas for themes, but I chose to just wing it. I stuffed white paper towel in each glass so that I could see the paint a bit better while I was painting the glass.

Painted Wine Glass DIY for Welcome Basket

I painted both names in black to start off with. The I painted pink flowers on the girl glass and blue flowers on the boy's glass. Then I painted purple swirls on both to tie the two colors together. I finished them off with a slight shadow effect to the names. I made these to go in a welcome basket. These are perfect Christmas presents as well. You could make one individual personalized wine glass or a set of 4 with a matching theme. Don't fuss to much over the perfect painting, your friends and family will love that you took the time to make this special gift for them!


Bridget Davet / Davet Designs

Using the affiliate links in this blog to make purchases helps support my site. Thank you in advance!

Wednesday, December 12, 2012

12th Day of Christmas in a Jar - S'Mores Kit in a Jar

S'Mores Kit in a jar

For the twelfth day of Christmas in a jar, we have a quick and easy S'Mores Kit in a jar. I found the idea from the FrugalGirls.com website. I also made a mini version using small mini Hershey's Bars.

You will need:

  • 1 Quart or Pint Size Wide Mouth Jars {Quart Jars and pint jars }
  • Hershey's Chocolate Bars (or mini-bars for pint jars) {regular size or Mini Bars}
  • Large Marshmallows
  • Graham Crackers {affiliate link}
  • Plastic sandwich bags (optional)
  • Ribbon, Tags, Labels, Etc. (Optional)


Instructions

This is a very quick project for those last minute gifts! Most of the items you might even have lying around the house.

Step 1

In the quart size jar, put one chocolate bar, 4 whole gram crackers and then 8 large marshmallows. You can put the gram crackers and marshmallows directly into the clean jar or you can bag them in plastic zip-loc bags. For the pint jars, I put 2 mini chocolate bars, 3 halves of gram crackers and 4 large marshmallows.

Step 3

Decorate the jars however you'd like. Feel free to use the free printables below or order your custom personalized stickers (or personalized digital downloads for you to print) from Davet Designs.

S'Mores Kit in a jar

Free Printable Downloads:

Copyright for free downloads and printables is owned by Davet Designs and is for personal, non-commercial use only. Feel free to link to the download on your site, but please link to the original post for the download (DO NOT use the original files on your site). The circles can be punched out with a 2.5 inch hole punch.

S'Mores kit in a Jar front printable S'Mores kit in a Jar in a Jar back printable
Bridget Davet / Davet Designs

Using the affiliate links in this blog to make purchases helps support my site. Thank you in advance!

Tuesday, December 11, 2012

11th Day of Christmas in a Jar - Biscotti in a Jar

Italian Biscotti in a Jar

For the eleventh day of Christmas in a jar, we have Biscotti in a jar. I used my Italian Biscotti recipe and Chocolate Almond Biscotti recipe, but I haven't made them in quite some time.

You will need:

  • 1 Quart or Pint Size Wide Mouth Jars {Quart Jars and pint jars }
  • Biscotti (any flavor)
  • Ribbon, Tags, Labels, Etc. (Optional)


Instructions

Homemade Biscotti is easy and fun to make. You can be creative by making different kinds, or just stick to one kind per jar. Make some with or without nuts, chocolate chips, etc. See "Biscotti" tag on this blog for more Biscotti recipes (I'm always adding new ones!)

Step 1

Make a few batches of Biscotti using your favorite recipe (or one of the many on this blog). When you slice your Biscotti, the greater the angle you cut it, the longer the Biscotti slice. Keep that in mind when slicing. I sliced the chocolate Biscotti shown in the smaller pint size jar shorter to fit into the pint size jar.

Step 2

Place your Biscotti in wide mouth jars.

Step 3

Decorate the jars however you'd like. Feel free to use the free printables below or order your custom personalized stickers (or personalized digital downloads for you to print) from Davet Designs.

Biscotti in a Jar

Free Printable Downloads:

Copyright for free downloads and printables is owned by Davet Designs and is for personal, non-commercial use only. Feel free to link to the download on your site, but please link to the original post for the download (DO NOT use the original files on your site). The circles can be punched out with a 2.5 inch hole punch.

Biscotti in a Jar front printable Biscotti Mix in a Jar back printable
Bridget Davet / Davet Designs

Using the affiliate links in this blog to make purchases helps support my site. Thank you in advance!

Homemade Italian Biscotti Recipe

Italian Biscotti

Biscotti is one of my favorite treats to bake {and eat} and can made in a wide variety of flavors and varations. Biscotti means "twice baked". Biscotti is not a very sweet treat and is fairly dry. It is meant to be used as a dipping "cookie" into your favorite drink, such as wine, tea, coffee, hot chocolate, etc. Biscotti is surprisingly simple to make. Enjoy!

Ingredients (Makes 2 logs)

  • 3/4 cup butter
  • 3/4 to 1 cup sugar (depending on taste)
  • 3 eggs
  • 1 teaspoon Anise extract {Amazon link }
  • 1 teaspoon vanilla extract {Amazon link}
  • 1/4 teaspoon salt {Amazon link}
  • 1 teaspoon baking powder {Amazon link}
  • 4 oz chopped almonds (optional) {Amazon link}
  • Melted Chocolate for decoration (optional)
  • Non-stick silicone baking mat {affiliate link}


Directions:

Preheat oven to 350 degrees F.

Cream the sugar and slightly melted butter in a bowl. Add eggs (one at a time) and beat until fluffy. Stir in the Anise and Vanilla extracts.

Sift together the flour, baking powder and salt. Add to egg mixture along with chopped almonds (if desired). Stir with a spoon until the dough comes together. Knead by hand.

Divide the dough into 2 parts. Roll each piece into a log about 15 inches long. Place log on cookie sheets (2 to a sheet) lined with a silicone baking mat or a baking stone {Amazon link }. Flatten the logs until they are about 3 inches wide with a slight hump down the middle.

Bake for 25-30 minutes until loaves are firm. Cut the loaves into diagonal slices 1/2 inch wide. Cut at about a 45 degree angle. The greater the angle, the greater the length of the biscotti, keep that in mind if you are trying to make them a certain length.

Place the slices onto the cookie sheet or baking stone and return to the oven. Toast one side for about 5 minutes. Turn them over and toast the other side for about 5 minutes as well. Remember Biscotti is supposed to be firm and dry since it will be dunk into liquid before eating. Serve as is or decorate with chocolate. You can drizzle chocolate over the slices or dip half the biscotti slice into melted chocolate as well. Makes for a very nice presentation. Biscotti is a nice gift to give in a jar.


Bridget Davet / Davet Designs

Using the affiliate links in this blog to make purchases helps support my site. Thank you in advance!

Monday, December 10, 2012

10th day of Christmas in a Jar - Brownies in a Jar

Brownies Baked in a Jar

For the tenth day of Christmas in a jar, brownies baked in a jar. You can use a box mix or your favorite brownie recipe See our Double Chocolate Brownie Mix recipe.

You will need:

  • 4 Pint size jars {Amazon link }
  • 1 box of Brownie Mix or your homemade recipe
  • Ingredients listed on Brownie mix box or your recipe
  • baking spray {Amazon link }
  • Ribbon, Tags, Labels, Etc. (Optional)


Instructions

Step 1

Spay the inside of each jar with baking spray. Place jars in a baking dish.

Step 2

Mix your brownie mix per the boxes instructions or your recipe instructions. Pour 1/4 of the brownie mix into each jar. Bake at the temperature on your recipe, but for quite a bit longer. It took me almost double the recipe time. Check your brownies about every 10 minutes after the suggested time to see if they are done.

Step 3

Decorate the jars however you'd like. Order your custom personalized stickers (or personalized digital downloads for you to print) from Davet Designs.

Brownies Baked in a Jar


Bridget Davet / Davet Designs

Using the affiliate links in this blog to make purchases helps support my site. Thank you in advance!

Sunday, December 9, 2012

9th Day of Christmas in a Jar - Gingerbread Cookie Mix in a Jar

Gingerbread Cookie Mix in a Jar

For the ninth day of Christmas in a jar, we have Gingerbread Cookies. I found the recipe on Christmas-Cookies.com.

You will need:


Instructions

It wouldn't be Christmas time without the smell of gingerbread cookies baking! Compliment your Gingerbread Cookie Mix in a jar with a cute gingerbread man cookie cutter. You can tie it on with ribbon or wrap him up.

Step 1

Using the canning funnel (purchase for $1.25 at Walmart in the canning jar section), pour into the jar 1/2 of the flour (1-3/4 cups), baking powder and baking soda. Pack the layers firmly after each layer. Next layer the brown sugar and spices. Pour in the remaining flour as your last layer.

Step 2

On your tag or sticker, put these directions: "Empty jar of cookie mix into large mixing bowl. Mix thoroughly. Mix in 1/2 cup softened butter, 3/4 cup molasses and 1 egg. Mix until completely blended. Cover and refrigerate 45 minutes. Preheat oven to 350°F. Roll dough to 1/4 inch thick on a lightly floured surface. Cut into shapes. Place cookies on lightly greased cookie sheet about 2" apart. Bake 10 to 15 minutes. Decorate with icing."

Step 3

Decorate the jars however you'd like. Feel free to use the free printables below or order your custom personalized stickers (or personalized digital downloads for you to print) from Davet Designs.

Gingerbread Cookie Mix in a Jar

Free Printable Downloads:

Copyright for free downloads and printables is owned by Davet Designs and is for personal, non-commercial use only. Feel free to link to the download on your site, but please link to the original post for the download (DO NOT use the original files on your site).

Gingerbread Cookie Mix in a Jar front printable Gingerbread Cookie Mix in a Jar in a Jar back printable
Bridget Davet / Davet Designs

Using the affiliate links in this blog to make purchases helps support my site. Thank you in advance!

Related Posts Plugin for WordPress, Blogger...