
For the past few months I've been creating busy bags and craft projects for my toddler. Many of the them require colored clothespins, which I have been tediously painting. I came across a post on Pinterest for a clothespin wreath with dyed clothespin. Genius I tell you, just genius! Off I went to purchase clothespins and RIT dye. You can purchase the clothespins off of this Amazon link, but the cheapest is at Walmart in the laundry section (by the clothes hangers and ironing boards), NOT the craft section. The ones in the craft section are the same ones but in a different package and twice the price. I started with the red and green for a Christmas craft I'm making. Next I will make a ton of other colors for our busy bag and coloring matching projects for the kids.
You will need:

- Liquid Rit dye {I used Cherry Red
and Kelly Green
- Clothespins {Amazon link
}
- Gloves {Amazon link
}
- Ziploc Container
- Plastic spoon
- Paper towels
- Wax Paper
Instructions

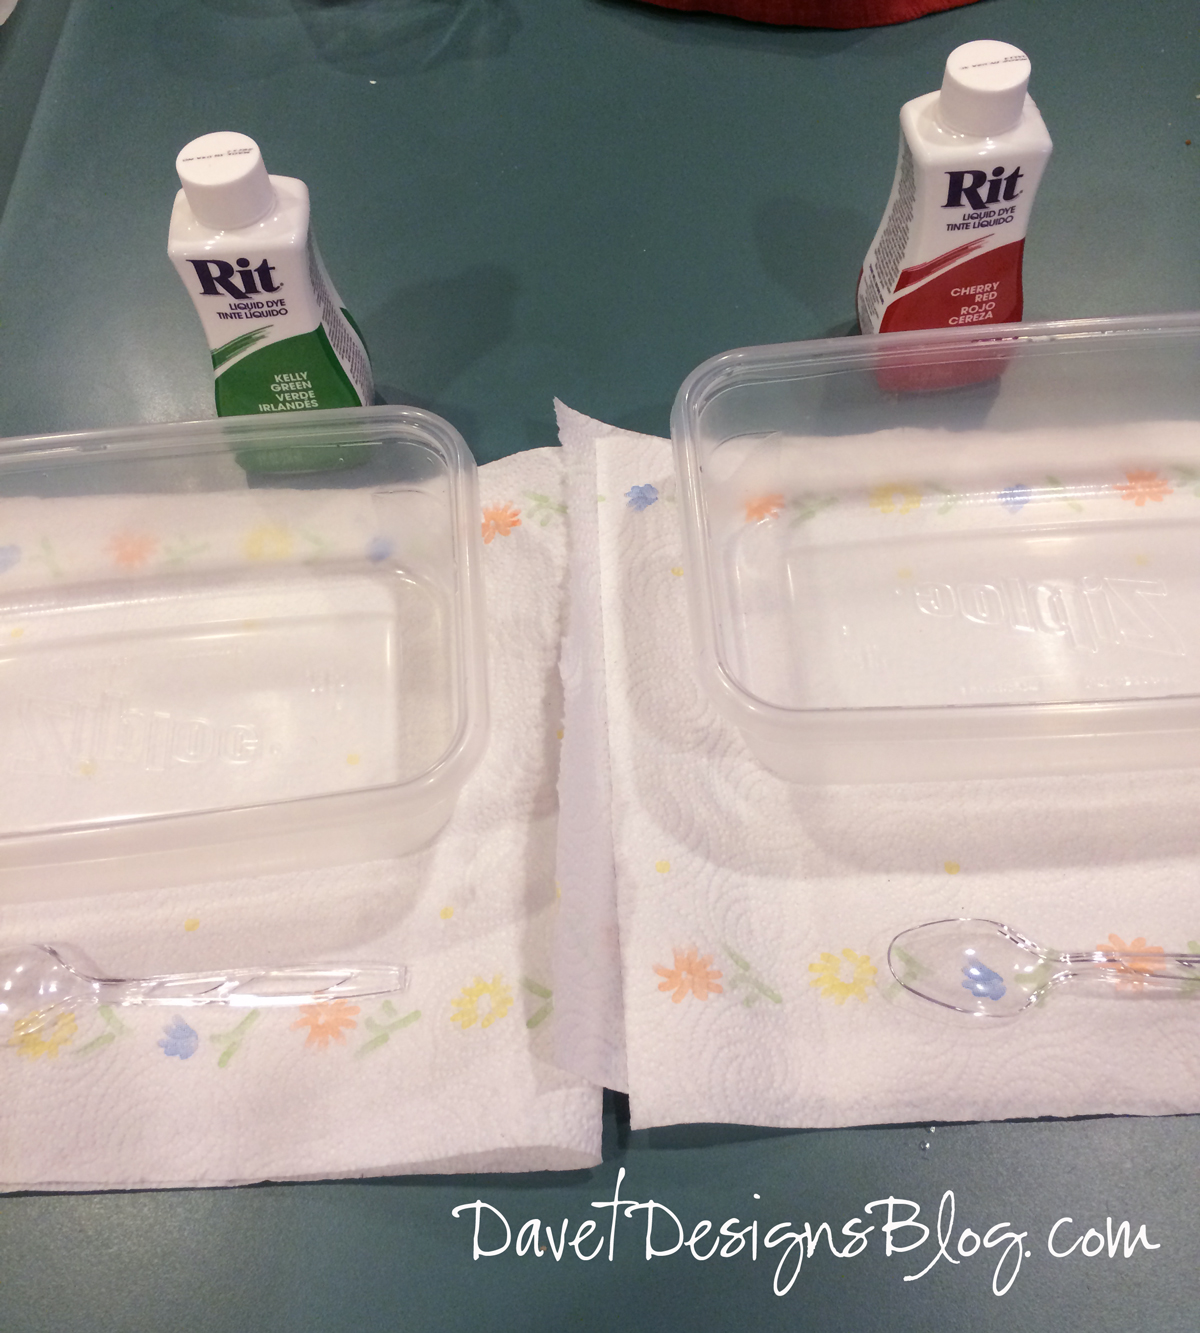
First set up your dyeing station. Place a some paper towels under your containers. I use these Ziploc Containerbecause they are cheap and I can use them for my crafts and then throw away when they get old. Make sure you have extra paper towels handy in case you spill any dye, wipe it up immediately.

Put on your gloves. Pour 6 cups of hot water into one container. Add about 5-6 teaspoons of your Rit dye and stir.

Add your clothespins to the container, but don't overfill. I fit about 75 in one container. Try to fit them in nicely where they are not sticking up, but they will try to float.

To keep them from floating to the top {out of the dye}, fill a plastic bag with some water and close. Place the baggie on the top of the clothespins to weigh them down. Repeat this process for each color you have. I did red and green for this project.
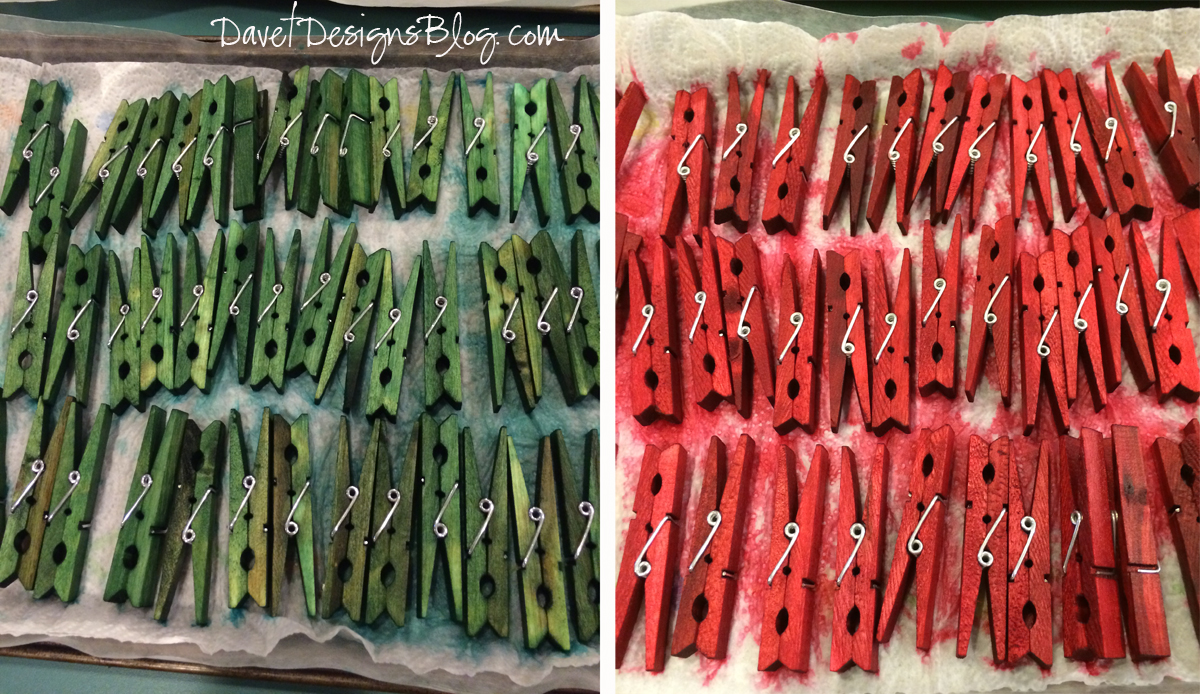
Depending on how long you leave your clothespins in the dye will determine how saturated with color they will turn out. After a few minutes, I took out a few red and a few green, just so I would have some light ones on hand. Then, I went ahead and just left the rest in the container overnight. They came out nice and dark.

When you are ready to take them out, set up your drying station. I had 3 cookie sheets and lined them with wax paper and then paper towels on top of the wax paper.

Put on your gloves and take the clothespins out and place them on the paper towels. After a few hours, I took them off and put them on fresh paper towels. Let them dry completely before using. Do NOT use these to hang fabrics. The dye WILL bleed onto your clothes, use them for craft purposes only.
Here is a free pdf download of the instructions.

Using the affiliate links in this blog to make purchases helps support my site. Thank you in advance!

Works great used it for Sunday School county fair projects. The kids loved it Thanks
ReplyDeleteI tried the red cherry dye and soaked for 4 hours..after they cried they were more pink than red. I then put them back in and added more dye and soaked all day...some were darker but mostly still a pinker color...I need them Christmas red. Any suggestions????
ReplyDeleteThis is such an easier way to dye them! Thank you for the tips!
ReplyDelete