
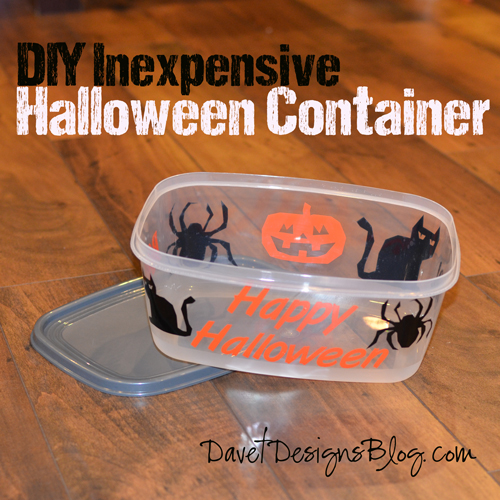

Make your gifts extra special by jazzing them up! This DIY Inexpensive Halloween Container can be made for cheap and in a short time frame.
You will need:
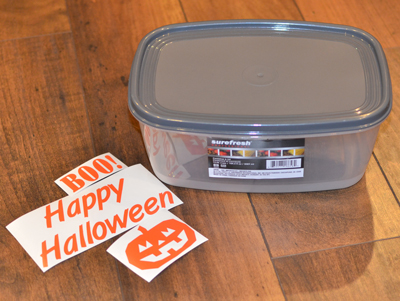
- 1 - container ($1 from Dollar Tree)
- vinyl decals or vinyl sheets {affiliate link
}
- scissors, punches, vinyl cutting machine, etc (if not using precut vinyl decals)
Instructions
You will need to either purchase pre-cut vinyl decals or you can cut your own from plain vinyl sheets. You can purchase vinyl from your local craft store, online or from Davet Designs.
Step 1

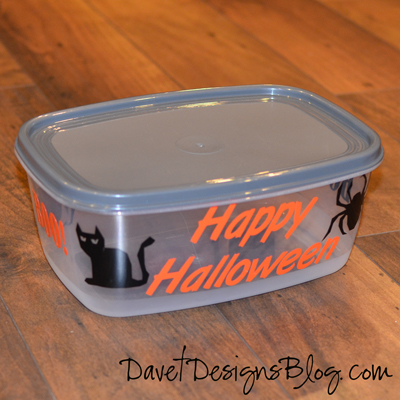
Apply your Halloween Vinyl Decals using the "How to apply vinyl lettering and decals" tutorial (see label "how to apply vinyl lettering" on this blog or click link).
Step 2
You're done! What a quick and easy way to jazz up a boring container! You can use your container as a treat basket, baked goods container, gift, etc. Makes for a nice addition to a Halloween gift for teachers as well.

Using the affiliate links in this blog to make purchases helps support my site. Thank you in advance!
No comments:
Post a Comment