

Yarn wreaths are easy and fun to make. Sit back while watching TV and just wrap away! There are so many ways to embellish your yarn wreath - the possibilities are endless.
You will need:
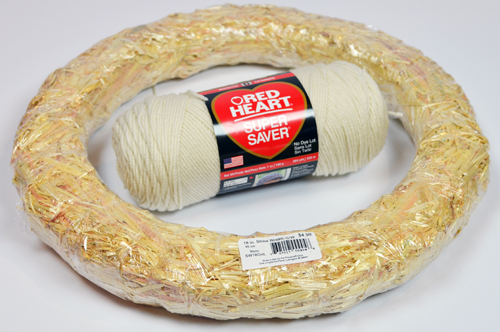
- Straw Wreath (or any other wreath you choose)
- Yarn (any brand or color you'd like)
- Glue gun (optional)
Instructions
These instructions are for the basic yarn wreath. You can choose to embellish them countless ways. See "yarn wreath" labels on this blog to view all my finished yarn wreaths. They are so easy, I will be making quite a bit of them soon! The wrapping of the yarn is a bit time consuming, but well worth it in the end.
You really can use any wreath or circle object you'd like, but I used a straw wreath. Keep in mind when choosing your wreath, the shape of the wreath form will show. For instance, the straw wreath is sort of "bumpy", so the finally wreath will be "bumpy" as well. In this tutorial, I used an 18" wreath, but the larger the wreath, the more work! Hobby Lobby has the widest selection of sizes for the straw wreaths (I think I chose the largest). Make sure you keep the plastic on the wreath, otherwise you will have a big mess and it will be hard to wrap. If the plastic tears, just patch it up with some tape, this will make it easier to wrap the yarn around. One skien should be plenty of yarn. I used a standard Red Heart Super Saver skien.

On the BACK side of the wreath, hold the tail of the yarn as you wrap the yarn around the wreath and cross over the tail.

Wrap the yarn a few more times, still crossing over the tail. Make sure you keep your yarn tight.

Pull gently on the tail of the yarn. Then simply cut off the rest with scissors.

Now turn your wreath over to where the front side is facing you. Continue wrapping your yarn around your wreath making sure the wreath is not showing though. You will NEVER be able to wrap it around perfectly with each pass lying neatly next to the other. The inside of a wreath is smaller than the outside. There is really no technique in wrapping the yarn and you will quickly develop your own style. I did a sort of "two steps forward, one step back" type wrapping {roughly}. There really is no rhyme or reason, just wrap!... and wrap... and wrap... and wrap! Depending on the size of the wreath and how fast you wrap depends on how long it will take. It is a good project to work on while watching TV or waiting for any appointment.
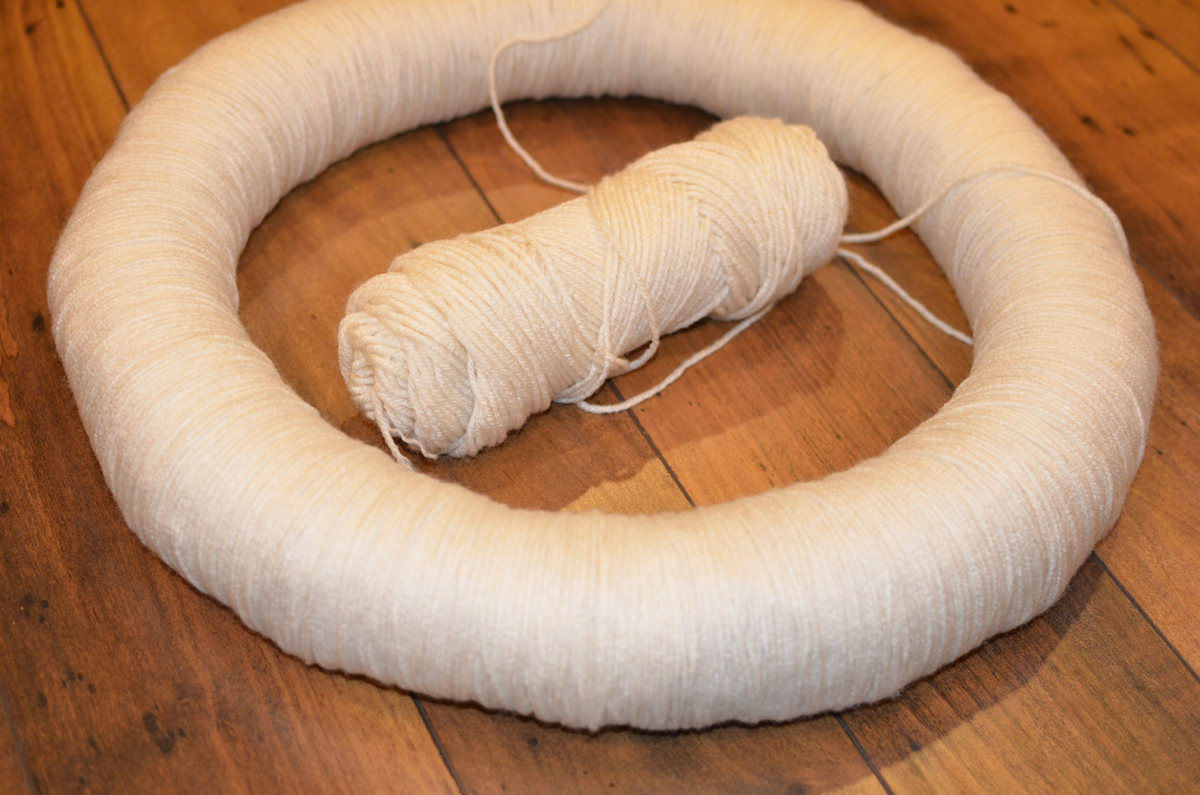
Even using an 18" wreath, I still had plenty of yarn leftover. When you are finished wrapping your wreath, simply hot glue the end down on the backside or tread it through the back loops of the wreath.

You are not limited to using one color for the entire wreath. You can mix colors, alternate colors, overlap colors, etc. See more tutorials under the "yarn wreaths" label for ideas on how to decorate your yarn wreath.

No comments:
Post a Comment